Arduino Laser Tag Land Mine Makes For Gory Battles
Want to spice up your laser tag game – why not add some Arduino laser tag landmines?
This is another cool project created by James, a member of Programming Electronics Academy.
James writes about this project…
This project was submitted by one of our members. You can see more of our member's projects here.
Not a member yet? Sign up here.
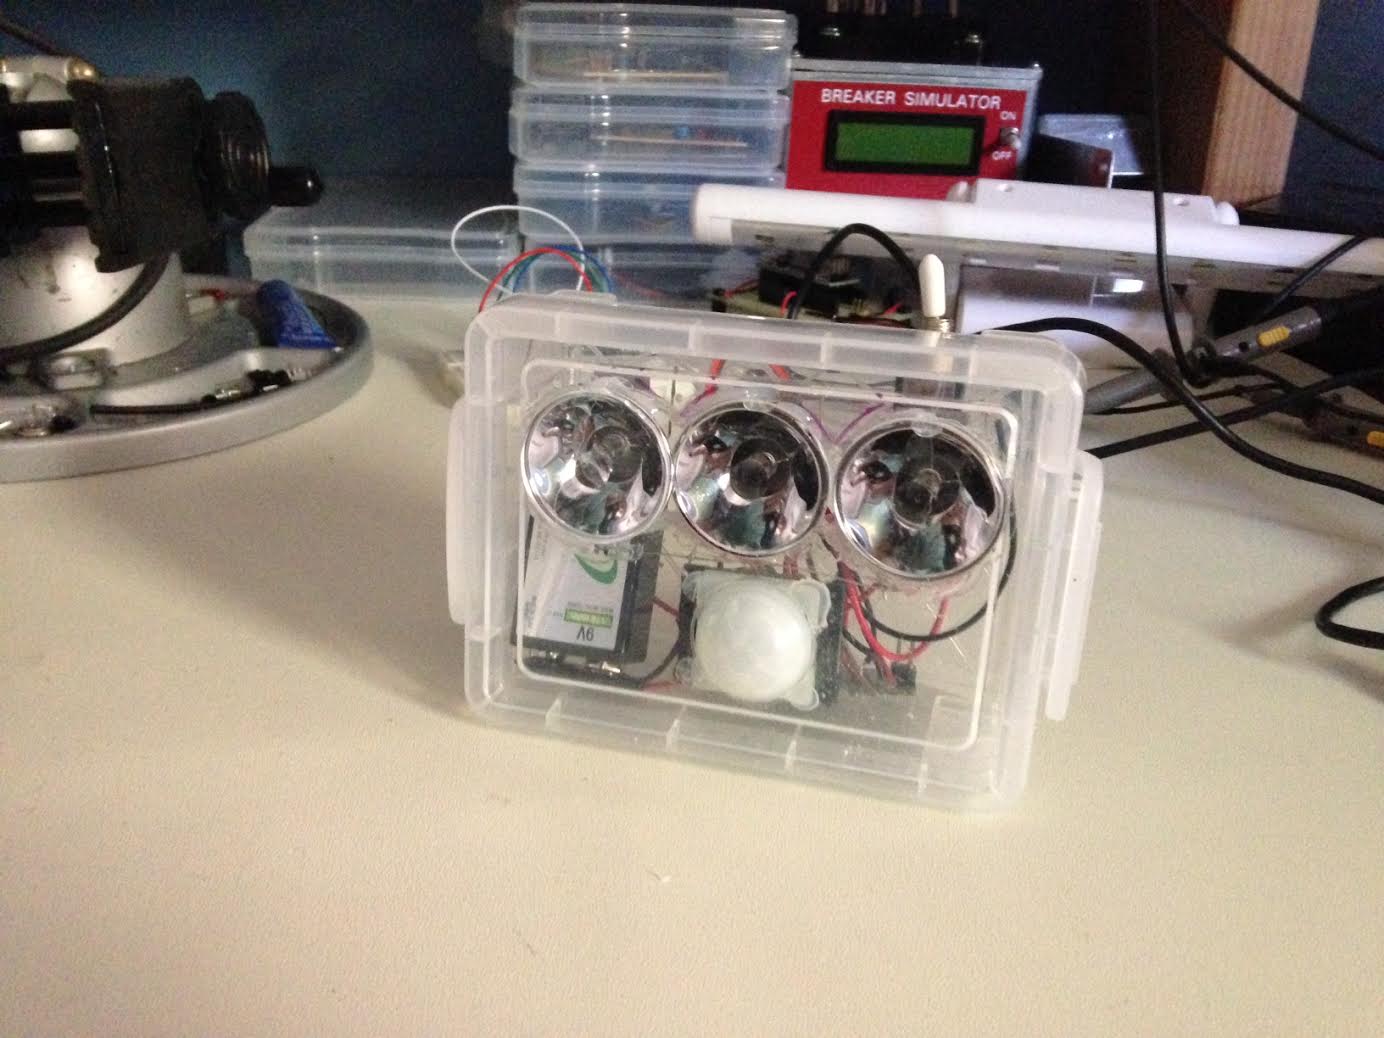
“A friend who runs a Laser Tag business approached me to create some grenades/land mines for players to use.
Hardest thing to code was the actual command to “explode” the player.
Another hurdle was that IR LEDs work best in low light conditions but have poor performance during daylight.”
You have done an excellent job putting together a comprehensive course that is easy to understand and follow. It has helped me progress very quickly in my understanding how Arduino works.
James Greever


James was kind enough to share his schematics and code.
Schematics:
Code:
// This is a working laser tag command code that explodes player. It it triggered by a PIR, which
runs subloop "SendLaserCode", it repeats 10 times to ensure all players in area recieve code
and explode.
// This utilizes new Nano3 chips, with PIR.
const int IRledPin = 9;// IR LED on PWM output
const int MotionPin = 7; // PIR
int MotionState; // varible for PIR output
void setup() {
// set pins to CPU to accept IN/OUT commands
pinMode(IRledPin, OUTPUT);
pinMode(MotionPin, INPUT);
delay(10000);
}
// this only forces the program to come back to this point and turn off KILL led.
void Reset(){
//digitalWrite (IRLedPin, LOW);
}
void loop() {
// read the PIR state
MotionState = digitalRead (MotionPin);
// if the PIR goes HIGH then run the code and turn on KILL led
if (MotionState == HIGH){
for (int i = 1; i < 1000; i ++){ //digitalWrite(IRledPin, HIGH); SendLaserCode(); delay(100); } } // when button is released, this subrountine is called (read above) else{ Reset(); } } // This procedure sends a 38KHz pulse to the IRledPin, also know as "carrier" frequency. // for a certain # of microseconds. We'll use this whenever we need to send codes void pulseIR(long microsecs) { // we'll count down from the number of microseconds we are told to wait while (microsecs > 0) {
digitalWrite(IRledPin, HIGH); // this takes about 3 microseconds to happen
delayMicroseconds(9); // this is half the time T=1/f minus 3
digitalWrite(IRledPin, LOW); // this also takes about 3 microseconds
delayMicroseconds(9); // this is the other half
// this is the total time for a given freq 26 micro = 1/38000
microsecs = 26;
}
}
void SendLaserCode() {
pulseIR(2350); // this is the HEADER
delayMicroseconds(600);// the first gap between HEADER and actual code
// The following code is the COMMAND CODE to KILL a player instantly
// 0x83, this is HEADER info
pulseIR(1000);
delayMicroseconds(850);
pulseIR(400);
delayMicroseconds(850);
pulseIR(400);
delayMicroseconds(850);
pulseIR(400);
delayMicroseconds(850);
pulseIR(400);
delayMicroseconds(850);
pulseIR(400);
delayMicroseconds(850);
pulseIR(1000);
delayMicroseconds(850);
// This is actual command to EXPLODE player
pulseIR(1000);
delayMicroseconds(850);
pulseIR(400);
delayMicroseconds(850);
pulseIR(400);
delayMicroseconds(850);
pulseIR(400);
delayMicroseconds(850);
pulseIR(400);
delayMicroseconds(850);
pulseIR(1000);
delayMicroseconds(850);
pulseIR(400);
delayMicroseconds(850);
pulseIR(1000);
delayMicroseconds(850);
pulseIR(1000);
// 0xE8, this is FOOTER info
delayMicroseconds(850);
pulseIR(1000);
delayMicroseconds(850);
pulseIR(1000);
delayMicroseconds(850);
pulseIR(1000);
delayMicroseconds(850);
pulseIR(400);
delayMicroseconds(850);
pulseIR(1000);
delayMicroseconds(850);
pulseIR(400);
delayMicroseconds(850);
pulseIR(400);
delayMicroseconds(850);
pulseIR(400);
}
If you are interested in learning more about the project, feel free to reach out through the comments – James would love to hear your feedback!


Hi James, I also own a Laser Tag facility using Laser Blast equipment. I was wondering how you got the IR code to kill/explode the player. Thanks.
Got the code from this website: http://www.lasertagparts.com/mtformat-2.htm.
After some field testing, I am currently building a laser tag bomb suitcase. It will use a 7 segment display to show a timer counting down, with a numerical pad to disarm.
I will use the same explode code.